

Create your GBpass account
Create your GBpass account, verify your email with a one-time code, set your Master Password, and save your Recovery Kit.
Setting up GBpass takes just a few minutes. You'll verify your email, create a Master Password, and save a Recovery Kit that keeps your account recoverable. Have your phone and a safe place to store your Recovery Kit ready before you start.
1. Open GBpass and get started
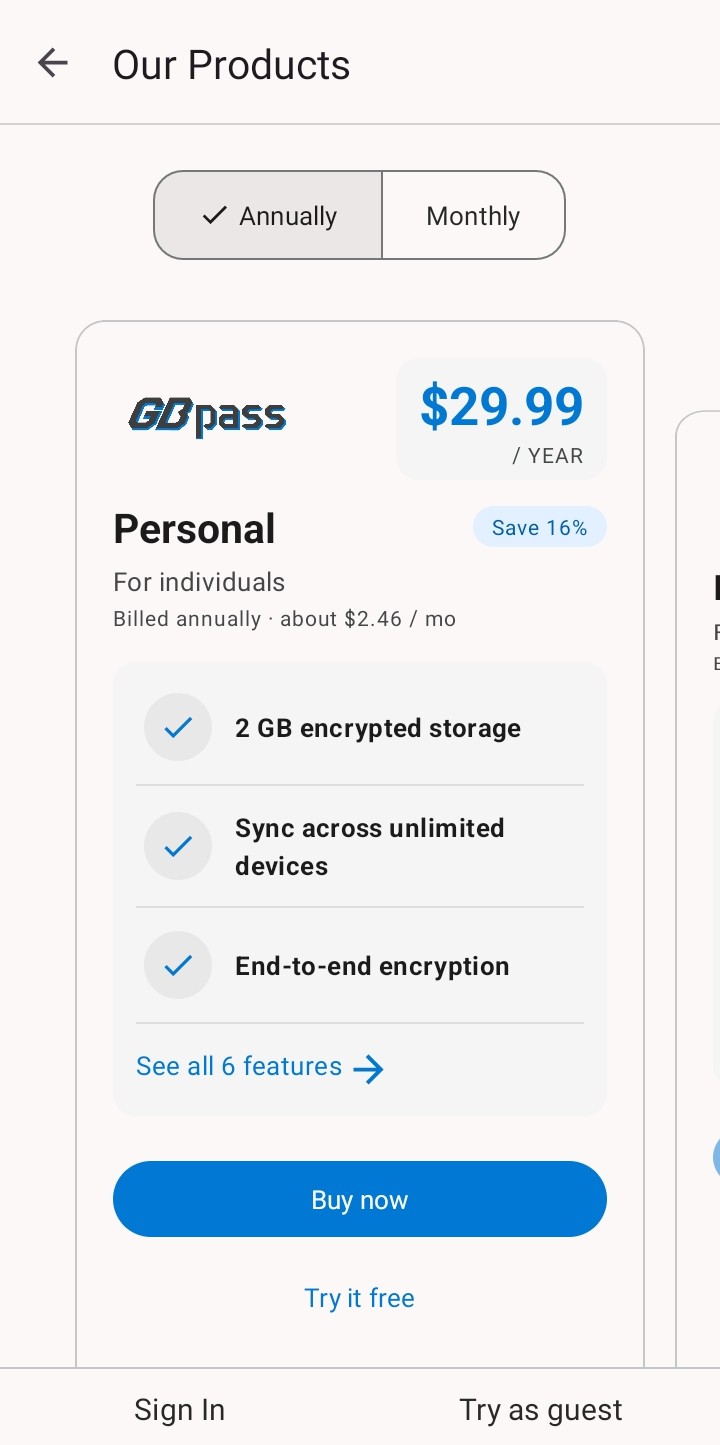
Install GBpass from the download page, open it, and tap Get Started. You'll be asked to choose a plan first. Stay on the Free plan, which is free forever, or start your 30-day free trial of Personal. Either way you create a full account, so your vault is protected by the same encryption and backed up from day one.
2. Enter your email
Type the email address you want to use for your account and continue. GBpass will send a verification code to this address.
3. Verify with the 6-digit code
Check your inbox for a one-time code and enter the six digits in the app. Didn't receive it? Wait a moment and tap Resend, and check your spam folder.
4. Create your Master Password
Your Master Password is the key that unlocks your vault, so make it strong and memorable. It must be at least 8 characters and mix uppercase and lowercase letters, a number, and a symbol. The strength meter (Weak → Very Strong) helps you gauge it as you type.
warning We never store or transmit your Master Password. If you forget it, we cannot reset it for you, so choose something you'll remember, and keep your Recovery Kit safe. Learn more in Your Master Password & Secret Key.
5. Download your Recovery Kit
Before you can finish, GBpass asks you to download your Recovery Kit. It contains your Secret Key and helps you sign in on new devices. Tap Download Recovery Kit, then store it somewhere safe. A printed copy in a secure place works well. The next step stays locked until you've downloaded it.
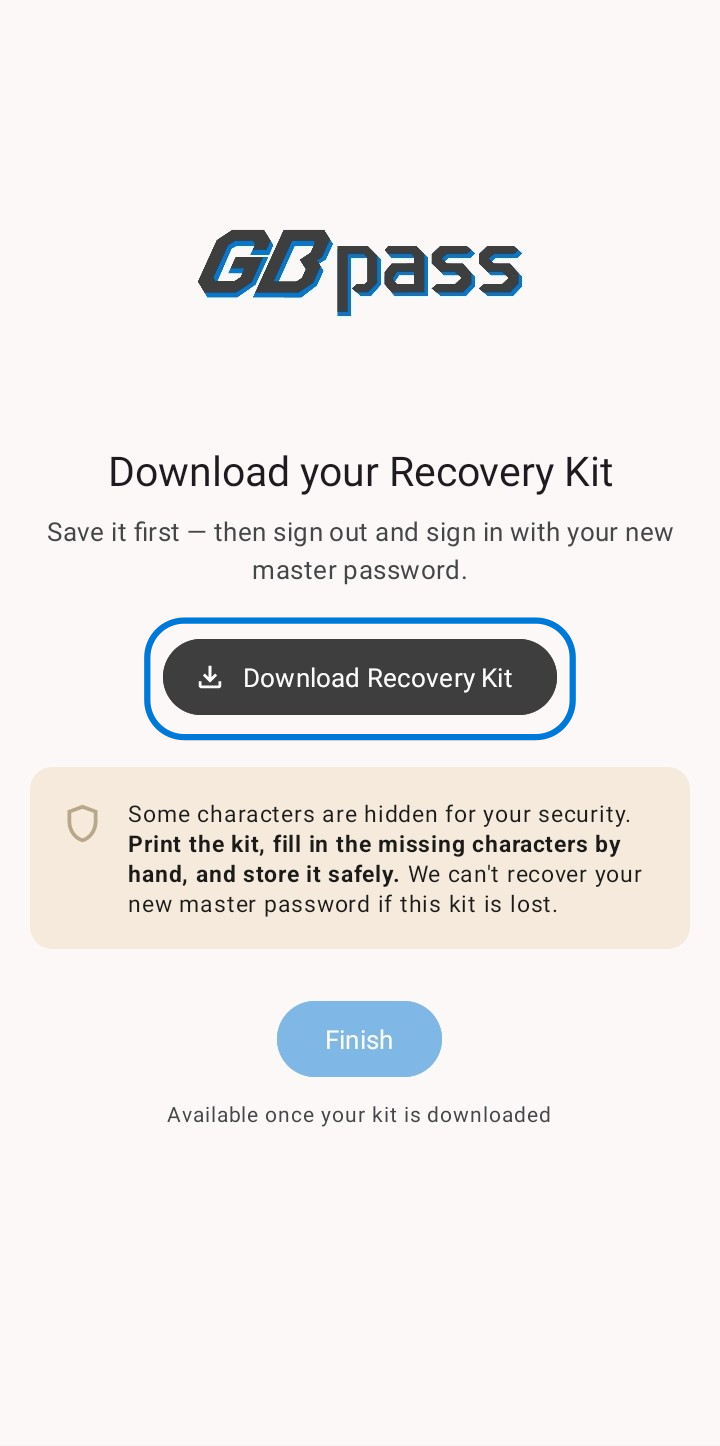
See Save your Recovery Kit for what it contains and how to store it safely.
6. You're all set
That's it. Your account is ready. GBpass syncs your (still empty) vault and drops you on the Items tab. Next, learn how to unlock with biometrics for faster access.
Related articles
Still need a hand?
Browse the Help Center FAQ or contact our support team.